 My Dream Peaks
Your climbs and trips
Photos
Upload photos from your device or import them, pick the ones worth showing, put them on the right day and spot, and choose a cover.
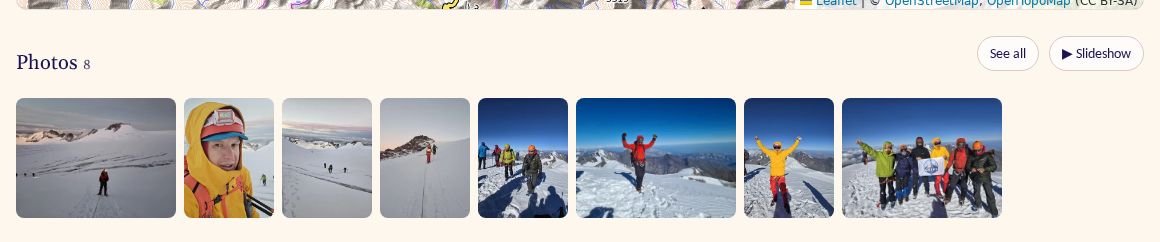
Photos belong to something you did: a trip, a climb, a hut visit or a track. Each of these has its own photo strip, its photos on the map, and a See all page with a slideshow.
Adding photos
Open the trip, climb, visit or track and press Manage photos. Then either:
- + Upload from this device — photos from your computer or phone (JPEG, PNG, WebP, and HEIC from iPhones), up to 30 MB each. We read the time each was taken, and its position if it has one, to put it on the right day and spot.
- + Import from… — from a service you keep your photos in:
- Immich — your own photo server. In Immich, open the album (or make one with the trip's photos), press Share → Create link with Show metadata on, and paste the link (and its password, if you set one). Choose Only photos taken on these days or The whole album — the second for photos you edited or exported, whose time may have changed: those arrive under Not placed for you to put on the right day. The link and password are forgotten when the import ends. Your server must be reachable from the internet.
- Google Photos — Google opens its own picker and we get only the photos you choose there, never the rest of your library (videos are skipped). Google Photos import opens to everyone once Google has finished reviewing our app; until then the menu says so.
You can keep up to 3,000 photos. We store a web-size copy and a thumbnail, never the original file — your originals stay where they are.
Photos taken during one of your GPS tracks belong to that track — and to the trip, climbs and hut visits it's part of — however you added them.
Step 1: Pick photos
New photos arrive as New. Walk through them and decide which are worth showing. Like in Google Photos, tick a photo, shift-click another to tick everything between them, and use the buttons for all ticked photos at once:
- Show — they appear to viewers;
- Hide — kept, but not shown;
- Delete from the site — for blurry, private or accidental photos. Delete all not shown… clears the rest in one go.
Filter by day, by state (New · Shown · Hidden · Not placed) and by the map (click the photos at a spot on the map to see only those). With 100 or more photos the page goes day by day, so you can keep each day balanced.
Click a photo to open it large; press S (or the button) to show or hide it while you browse.
Step 2: Manage shown photos
Now the finer work on the photos you show:
- Many photos on one day: open Not placed and press Put all on a day… — or tick just some of them first (the button then says Put the N selected on a day…). A photo's own Day and spot… also applies to all ticked photos when it is one of them.
- Day and spot… — a photo without a position or time (a scan, a photo from a friend) needs a day before it appears; pick it from the list of the trip's days, and optionally a spot (a summit or hut of that day). For a single-day climb or visit there's only one day, so this is done for you. Exact time (advanced) places it at a moment on your track.
- Captions — one line about the photo; it saves when you leave the box.
- Cover — tick The trip's cover (or the climb's, the visit's) in Day and spot…. The cover is the picture used when you share a link to the trip, and on cards. Without one, link previews never use your photos.
Where photos show
- On the trip, climb, visit or track page: the strip (as many as fit the row, then +N more), pins on the map (Hide photos to see the track clearly), and on a trip, up to three photos on each day.
- See all — every shown photo, by day, with a ▶ Slideshow. Open a photo to see its day, time, place and height, and the name of the track it was taken on, linked.
- On the peak or place page where they were taken: Your photos here, for you.
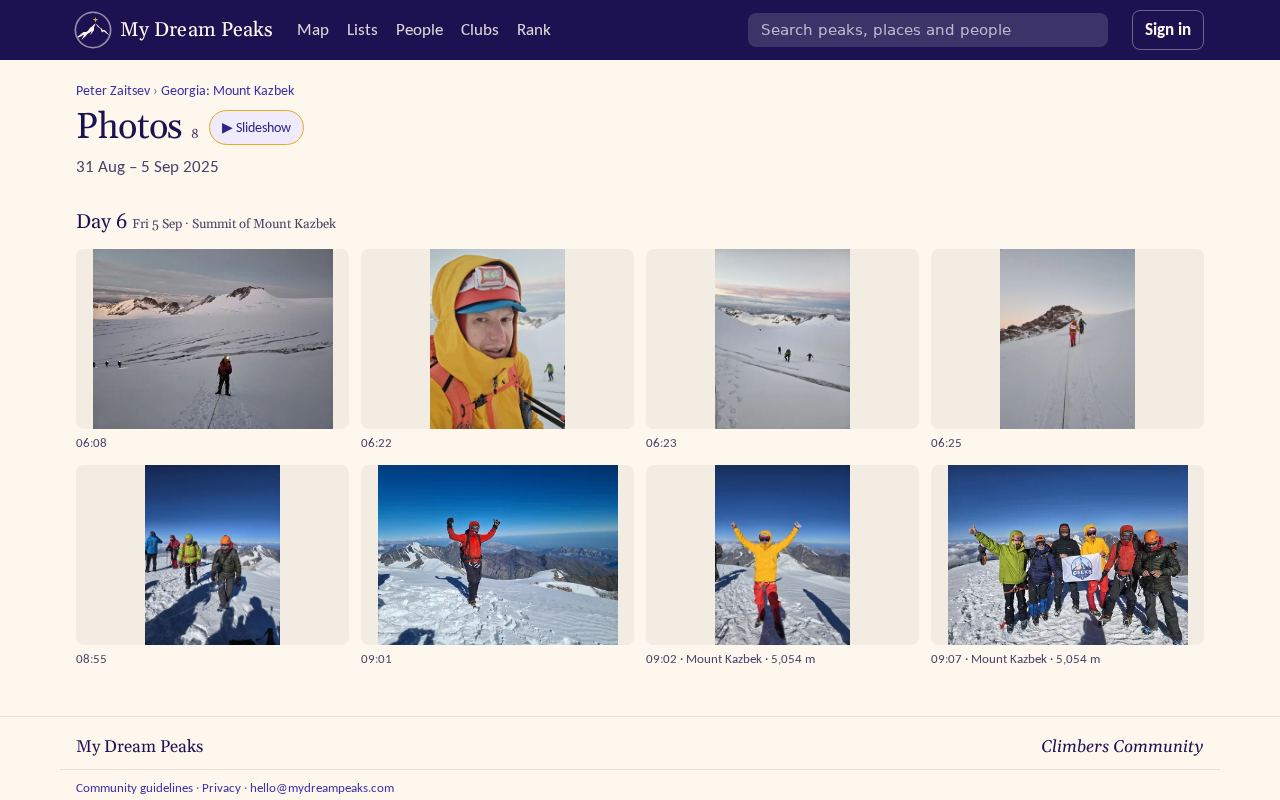
Viewers see your photos when they can see the trip or climb they belong to (see privacy).
Checked against the site on 14 November 2026 · All help pages · Questions: [email protected]